Cherry Garcia Ice Cream
Introduction
Imagine a warm summer day, the sun shining brightly, with a cool and creamy treat in hand. One of the most beloved flavors in the ice cream universe is Cherry Garcia. This delightful concoction combines the sweetness of cherries with the richness of chocolate in a smooth, velvety base. In this article, we will explore the origins of Cherry Garcia ice cream, its unique flavor profile, and how you can recreate this iconic dessert at home.
Cherry Garcia ice cream holds a special place in the hearts of many dessert enthusiasts. Created by the famous ice cream company, Ben & Jerry’s, this flavor has become a classic favorite for its perfect balance of fruity and chocolatey notes. Whether you’re a fan of cherries, chocolate chunks, or simply delicious ice cream, Cherry Garcia is sure to delight your taste buds.
With a history dating back to the 1980s, Cherry Garcia has stood the test of time and remains a popular choice among ice cream lovers of all ages. Its combination of sweet and tangy cherries, decadent chocolate pieces, and creamy ice cream base creates a symphony of flavors that is both comforting and indulgent.
Join us on a journey to discover the magic of Cherry Garcia ice cream, from its humble beginnings to its status as a cult favorite. Get ready to learn about the ingredients that make this dessert so special and how you can prepare it in your own kitchen.
Why You’ll Love Cherry Garcia Ice Cream
Cherry Garcia ice cream is a delightful treat that offers a perfect blend of flavors and textures. The sweet and tart cherries provide a refreshing contrast to the rich and creamy ice cream, while the chocolate chunks add a decadent touch that will satisfy your sweet tooth.
One of the best features of Cherry Garcia ice cream is its versatility. Whether you enjoy it in a classic waffle cone, as a topping for a warm brownie, or mixed into a milkshake, this flavor pairs well with a variety of desserts and treats. Its vibrant colors and bold flavors make it a standout choice for any occasion.
From a dietary perspective, Cherry Garcia ice cream can be customized to suit various preferences. By opting for dairy-free or low-sugar alternatives, you can still enjoy the essence of this beloved flavor without compromising on taste. With a few simple tweaks, you can create a version of Cherry Garcia that aligns with your dietary needs.
Indulge in the creamy goodness of Cherry Garcia ice cream and experience a burst of flavors with every spoonful. Whether you’re a fan of fruity desserts, chocolate delights, or simply want to cool off on a hot day, this recipe is sure to become a staple in your dessert repertoire.
Ingredients
To recreate the magic of Cherry Garcia ice cream at home, you will need the following ingredients:
– Fresh or frozen cherries
– Dark chocolate chunks or chips
– Heavy cream
– Whole milk
– Sugar
– Vanilla extract
– Salt
– Optional: almond extract for added flavor
For those with dietary restrictions, feel free to explore ingredient substitutions such as using coconut milk for a dairy-free version or opting for a sugar alternative to reduce the sweetness level. These adjustments will allow you to tailor the recipe to your preferences while still capturing the essence of Cherry Garcia ice cream.
Before you begin, ensure that your ingredients are of the highest quality to achieve the best results. Fresh cherries and premium chocolate will elevate the overall taste and texture of your homemade Cherry Garcia ice cream, making it a truly decadent treat.
Now that you have gathered all the necessary ingredients, let’s dive into the step-by-step instructions for creating your own batch of Cherry Garcia ice cream.
Step-by-Step Instructions
1. Pit and chop the cherries into small pieces, ensuring they are ripe and flavorful for the best results.
2. In a saucepan, combine the heavy cream, whole milk, sugar, and a pinch of salt. Heat the mixture over medium heat, stirring occasionally until it reaches a simmer.
3. Remove the saucepan from the heat and stir in the vanilla extract and almond extract if desired. Let the mixture cool slightly.
4. Pour the cream mixture into an ice cream maker and churn according to the manufacturer’s instructions until it reaches a soft-serve consistency.
5. Add the chopped cherries and dark chocolate chunks to the ice cream during the last few minutes of churning, ensuring they are evenly distributed.
6. Transfer the churned ice cream to a container and freeze for several hours until it reaches a firm consistency.
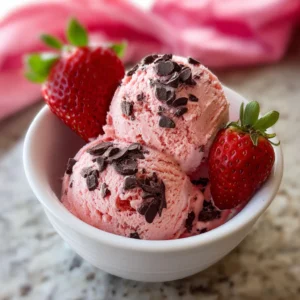
7. Serve the Cherry Garcia ice cream in bowls or cones, garnished with additional chocolate shavings or a fresh cherry on top for an extra touch of indulgence.
Enjoy the creamy, fruity, and chocolatey flavors of homemade Cherry Garcia ice cream with your family and friends for a delightful dessert experience.
Expert Tips for Success
To achieve the perfect texture and flavor for your Cherry Garcia ice cream, consider the following expert tips:
– Use ripe and juicy cherries for maximum sweetness and flavor in your ice cream.
– Allow the ice cream base to chill thoroughly before churning to ensure a smooth and creamy consistency.
– Experiment with different types of chocolate, such as dark or milk chocolate, to customize the level of sweetness in your ice cream.
– For a richer flavor, consider adding a splash of cherry liqueur to the ice cream base before churning.
By incorporating these expert tips into your cooking process, you can elevate the taste and presentation of your homemade Cherry Garcia ice cream to rival that of your favorite ice cream parlor.
Variations and Substitutions
For those looking to put a unique twist on the classic Cherry Garcia flavor, consider the following variations and substitutions:
– Swap the dark chocolate for white chocolate or semi-sweet chocolate chips for a different flavor profile.
– Add a sprinkle of chopped nuts such as almonds or walnuts for added crunch and texture.
– Experiment with different fruit combinations, such as raspberries or blackberries, to create your own signature fruit and chocolate ice cream flavor.
– For a vegan-friendly version, use coconut cream and dairy-free chocolate in place of traditional dairy ingredients.
Feel free to get creative in the kitchen and tailor the Cherry Garcia ice cream recipe to suit your personal preferences and dietary requirements. The possibilities are endless when it comes to customizing this beloved dessert.
Serving Suggestions
To enhance the serving experience of Cherry Garcia ice cream, consider the following suggestions:
– Serve the ice cream in a chilled bowl or cone for a refreshing and indulgent treat.
– Pair the ice cream with freshly baked brownies or warm chocolate chip cookies for a delightful dessert combination.
– Drizzle a homemade cherry sauce or chocolate syrup over the ice cream for an added layer of flavor.
– Create a decadent ice cream sundae by topping the Cherry Garcia ice cream with whipped cream, nuts, and a cherry on top.
Get creative with your serving presentations to elevate the enjoyment of Cherry Garcia ice cream and impress your guests with a visually appealing and delicious dessert spread.
FAQs
Q: Can I use frozen cherries instead of fresh cherries in the ice cream?
A: Yes, frozen cherries can be used as a convenient alternative. Thaw and drain the cherries before chopping and adding them to the ice cream mixture.
Q: How long can I store homemade Cherry Garcia ice cream in the freezer?
A: Homemade ice cream can typically be stored in the freezer for up to 2-3 weeks. Ensure it is tightly covered to prevent freezer burn and maintain freshness.
Q: Can I make a larger batch of Cherry Garcia ice cream and store it for future use?
A: Yes, you can double or triple the recipe quantities to make a larger batch of ice cream. Simply store the excess in airtight containers in the freezer for future enjoyment.
Q: How can I prevent ice crystals from forming in the ice cream?
A: To minimize ice crystal formation, ensure that the ice cream mixture is properly chilled before churning and that the storage container is sealed tightly to prevent air exposure.
Final Thoughts
As you embark on your culinary journey to create Cherry Garcia ice cream at home, remember to savor each step of the process and enjoy the rewarding experience of making a delicious dessert from scratch. Whether you’re a seasoned chef or a novice in the kitchen, this recipe offers a fun and satisfying way to indulge in a beloved ice cream flavor.
Share your homemade Cherry Garcia ice cream with loved ones and relish in the joy of creating a sweet treat that captures the essence of summer in every bite. With its luscious cherries, decadent chocolate, and creamy base, this recipe is sure to become a staple in your dessert repertoire for years to come.
So gather your ingredients, dust off your ice cream maker, and get ready to delight your taste buds with the irresistible flavors of Cherry Garcia ice cream. Happy scooping!

Cherry Garcia Ice Cream
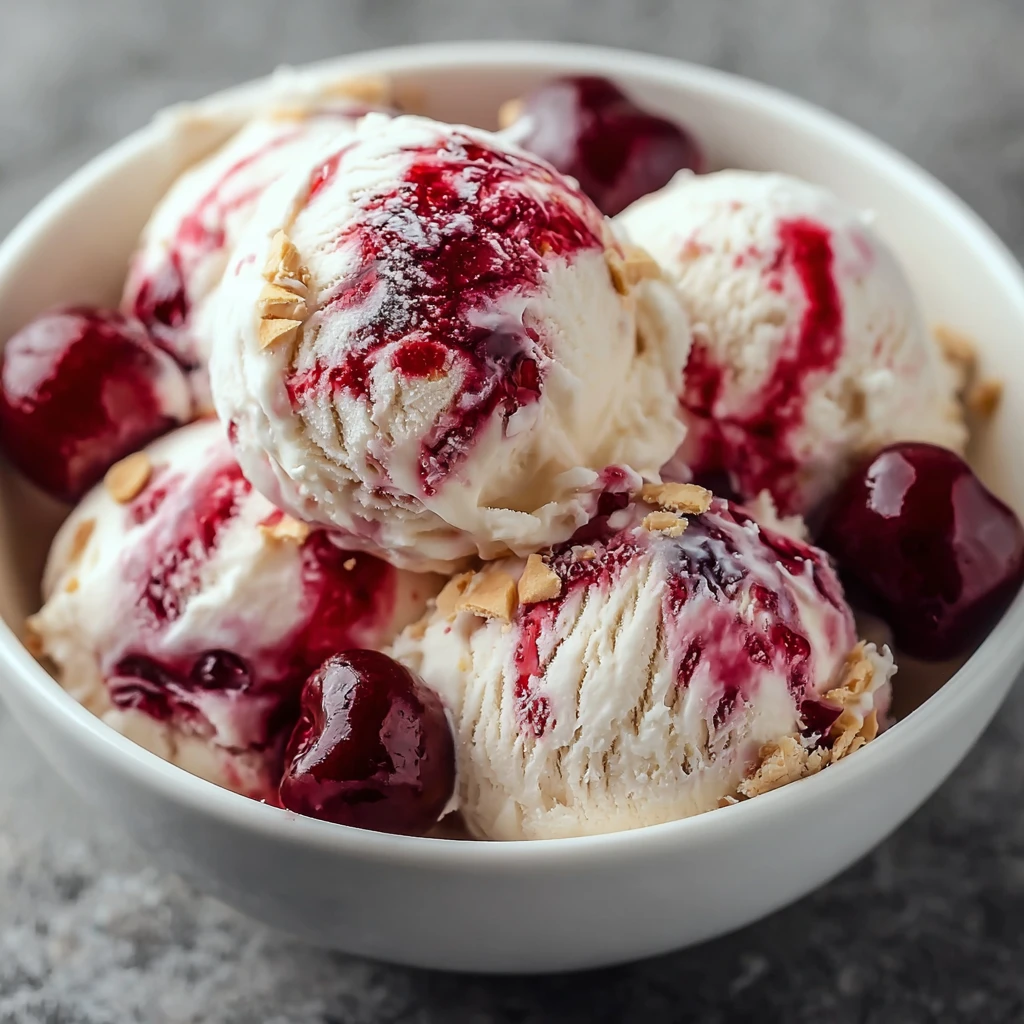
Indulge in the creamy goodness of Cherry Garcia ice cream with its perfect blend of sweet cherries, decadent chocolate chunks, and creamy base. This homemade version captures the essence of this beloved flavor in every scoop.
Ingredients
- 2 cups fresh or frozen cherries, pitted and chopped
- 1 cup dark chocolate chunks or chips
- 2 cups heavy cream
- 1 cup whole milk
- 3/4 cup sugar
- 1 teaspoon vanilla extract
- 1/4 teaspoon salt
- Optional: 1/2 teaspoon almond extract
Directions
- Pit and chop the cherries into small pieces.
- In a saucepan, combine heavy cream, whole milk, sugar, and salt. Heat over medium heat until simmering.
- Remove from heat and stir in vanilla extract and almond extract if desired. Let cool slightly.
- Pour the cream mixture into an ice cream maker and churn until soft-serve consistency.
- Add the chopped cherries and dark chocolate chunks during the last few minutes of churning.
- Transfer churned ice cream to a container and freeze for several hours until firm.
- Serve in bowls or cones, garnished with chocolate shavings or fresh cherries.